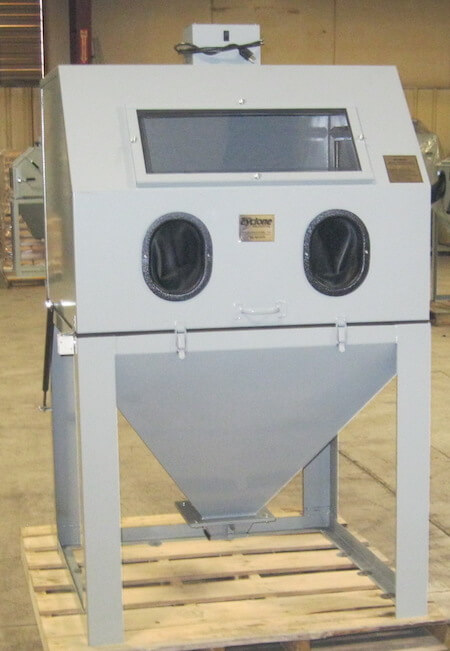
Using a sandblaster is a very easy process with just a few important things to keep in mind. How to use a sandblaster is a very common question. First, we will cover basic features of a sandblaster cabinet. Then, we will dive into actually how to use a sandblaster.
Sandblasting Safety

Before learning how to use a sandblaster it is absolutely critical to understand the basics of sandblasting safety. When working with any kind of tool, your safety should always come first. You are responsible for understanding the risks associated with tools like sandblasters because you could seriously injure yourself. This is not a comprehensive safety list. Always read the manual that comes with your specific equipment. Ask questions, read up, and take your safety seriously. We attempt to lay out the a few critical points about safety in this article. The primary focus is silicosis, but it goes well beyond that. Even with many safety features included in our cabinets, the process can still be dangerous. Do not let this overwhelm you, sandblasting can be and is regularly done – safely.
How to Use a Sandblaster Cabinet
A sandblaster or a sandblaster cabinet are considered the same thing. The term basically describes the process. Often you will hear bead blaster, abrasive blast cabinet, or media blast cabinet. All in all, it’s the same process. The terms refer to what is used inside the cabinet to blast with.
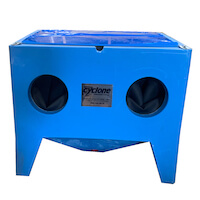
As we perform the instructions, we will be using our E100-P (P for pencil) sandblast cabinet. This is one of our bench top models. This is a small blast cabinet and we have a full line of industrial blast cabinets as well.
How to Sandblast – Preparation
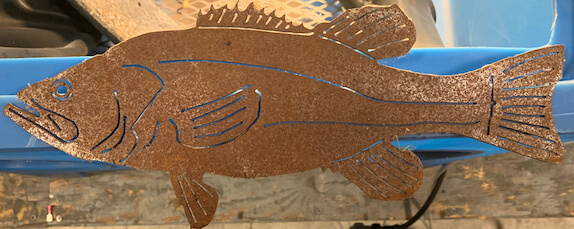
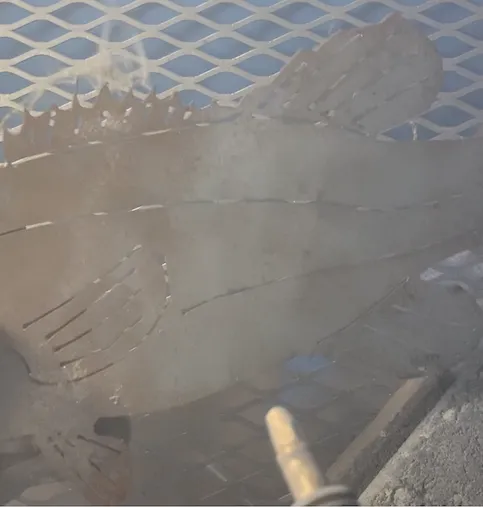
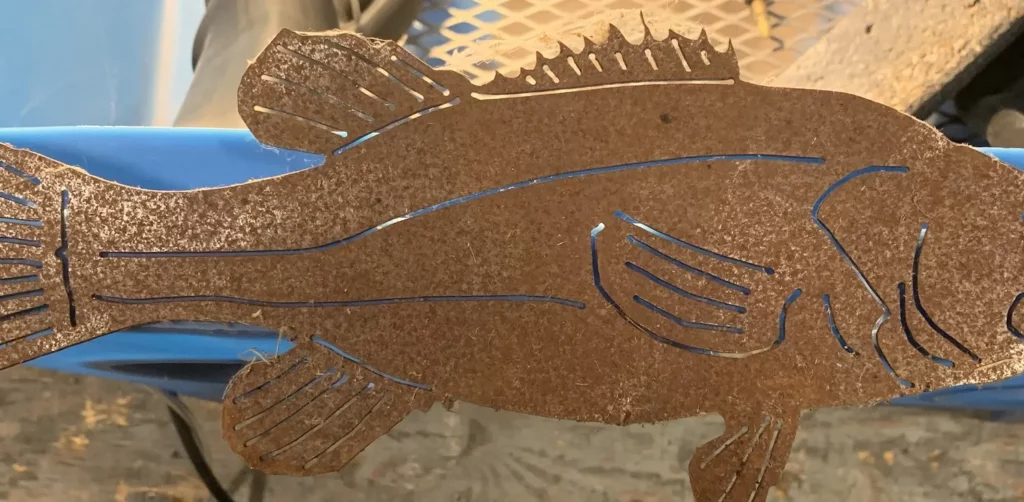
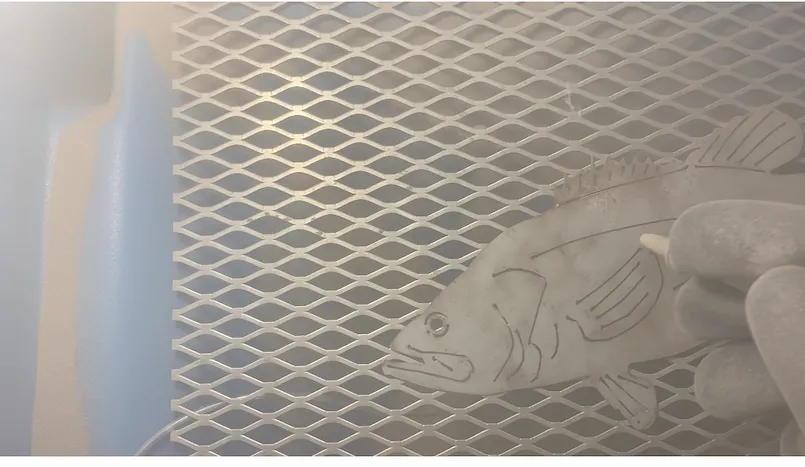
The most basic approach to how to use a sandblaster begins with what you intend to blast. For example, let’s assume we want to know how to use a sandblaster on metal. We will use an old rusty metal fish. The piece of metal rusted over time and we want to return it to a base metal in order to prepare it for painting or other finishing. As we go through this process, we assume that you have a sandblaster cabinet, abrasive media, and an air compressor. Oh, and most importantly, you read the instructions and took every safety precaution to protect yourself. If you want to see the blasting in action it is available on our YouTube channel here.
Once the part is inside the cabinet and all cabinet openings are securely closed, you can connect the air supply to the cabinet. Many users leave the air connected, but having it disconnected while the cabinet is open is a good safety procedure. Even with safety mechanisms on cabinets, disconnecting the air is another level of safety. At this point, you can also turn the lights on too. On Cyclone cabinets, the light box is on top. We have a single switch that controls the lights and dust collector.
Begin the Sandblasting
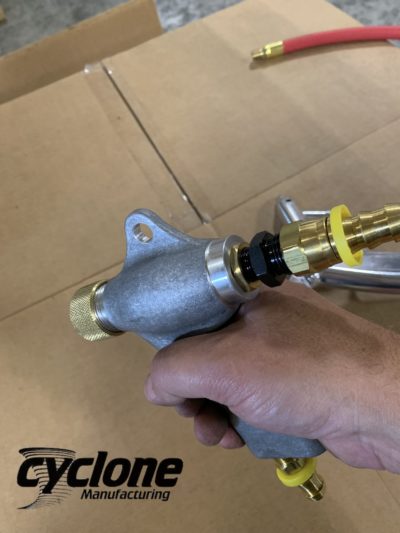
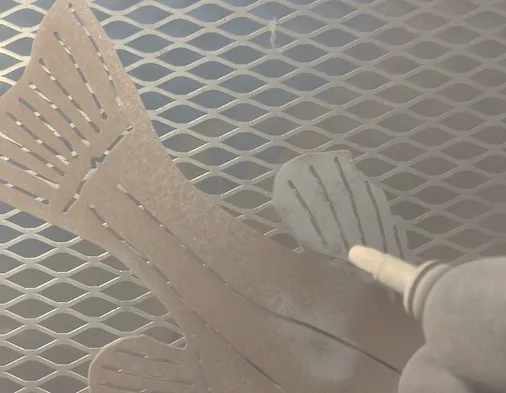
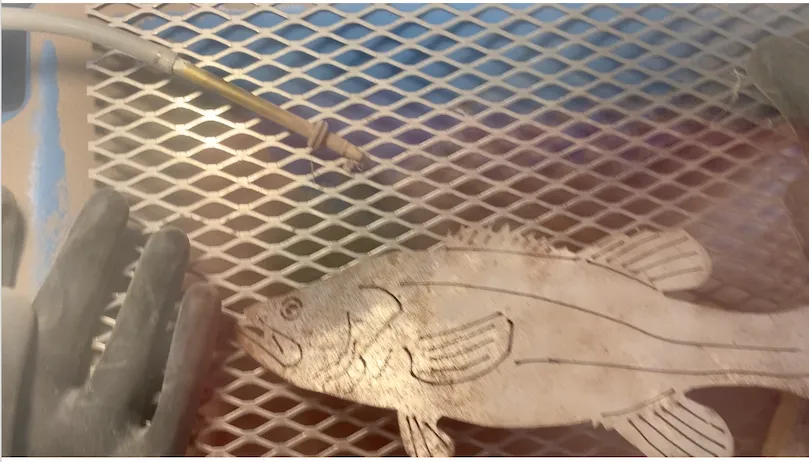
With the part in, doors/lids shut, and air connected, you can pickup the blast gun. The next step varies depending on whether you have a trigger blast gun or a pedal operated system. For a trigger operated system, you aim the gun at the part(s) in the cabinet and pull the trigger. This opens specific valves and allows the air and abrasive to mix. A stream of air and abrasive then is sent toward your part. The abrasive impacts the surface and removes unwanted debris and prepares the surface for further treatment. A pedal operated blast gun uses your foot to activate the blast stream instead of pulling a trigger. You can read more about trigger vs. pedal operated systems here.
Sandblast Gun Movement
When blasting, many people do not know how to properly control the blast stream. The reality of the blast process is as much art as it is science. As you move the gun across the part the abrasive is doing the work on the part’s surface. Moving the gun closer or farther away changes how the abrasive interacts with the part.
Putting the gun closer to the part removes more material faster, whereas farther from the surface removes less. In general, moving the blast stream side to side ensures you are properly effecting your part’s surface. A good suggestion is to always start far away from your part and move closer as needed. This can help reduce the possibility of unintentionally damaging your part or removing too much material at once. As an aside, different abrasives can effect the surface in unique ways. You can learn more about abrasives in the linked article.
Often, you can do a bulk of the work with the gun far away. Getting the gun close up to the part is handy for detail work, such as the fins in the metal fish project.
Finishing Up
As you progress, you will begin to get the hang of moving the gun around to achieve your desired result. When you are all finished, you can disconnect the air supply from the cabinet. Discharge the gun system one more time before you open the cabinet doors/lids/tops. This make sure any possible air left in the system is discharged for your safety. Now you can open the lid and inspect your work!
In our example, the fish on the left is before and the one on the right is “almost” after. I did not capture a finished image, but mid-way you can still see how much work we did in only a short amount of time.


